Apparently nobody cares about this but me

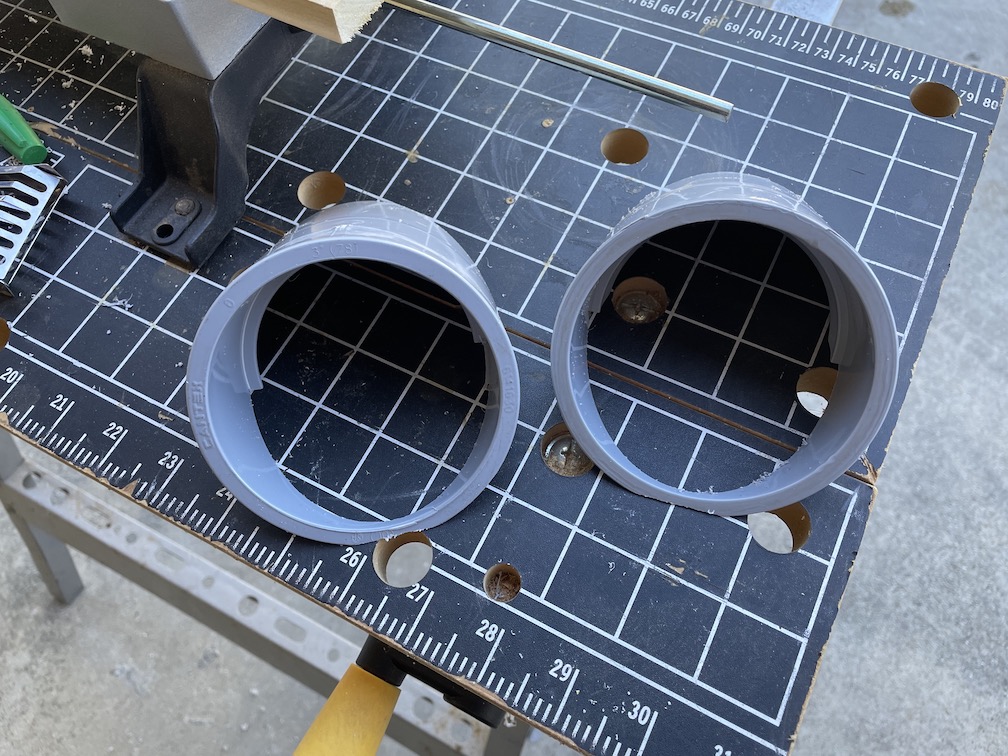
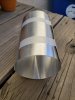
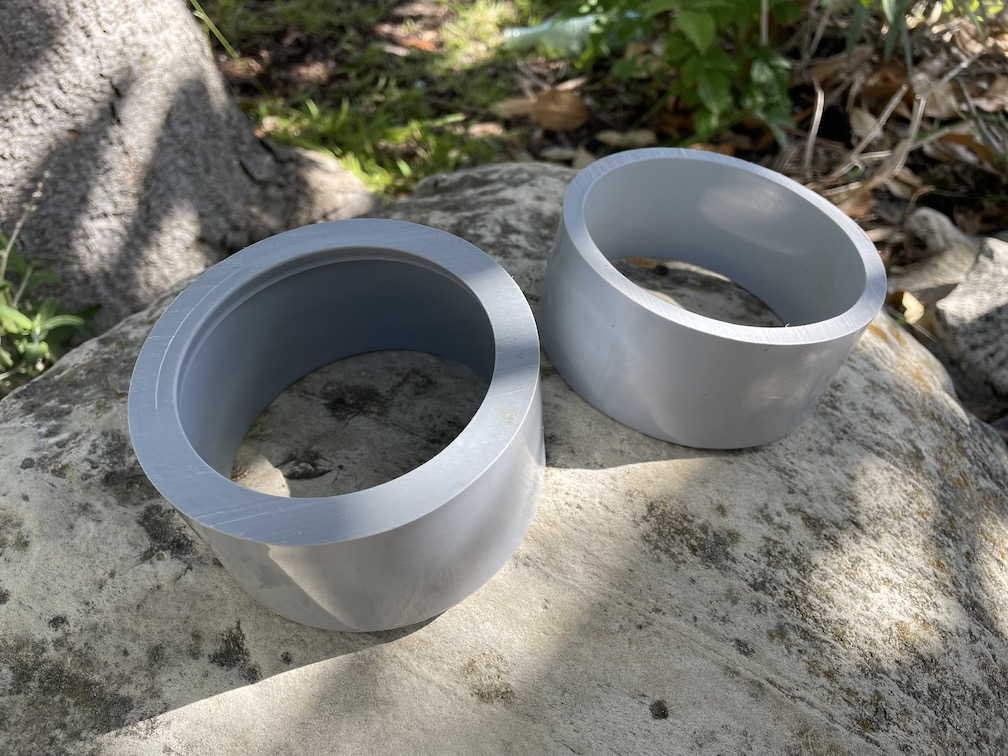
Anyway, the only 3.5" tube/pipe I could find was this
'3" PVC coupler' (model 1018) from Topaz. It's designed for mating two pieces of 3" ID pipe, so it's ID is specified at 3.5". These are only $1.60 apiece, but most distributors want you to buy 100.
Gordon Electric was the only one I found selling in small quantities, but shipping is $11.00 minimum, so I bought 9 of them.
I wanted to use this in two different ways:
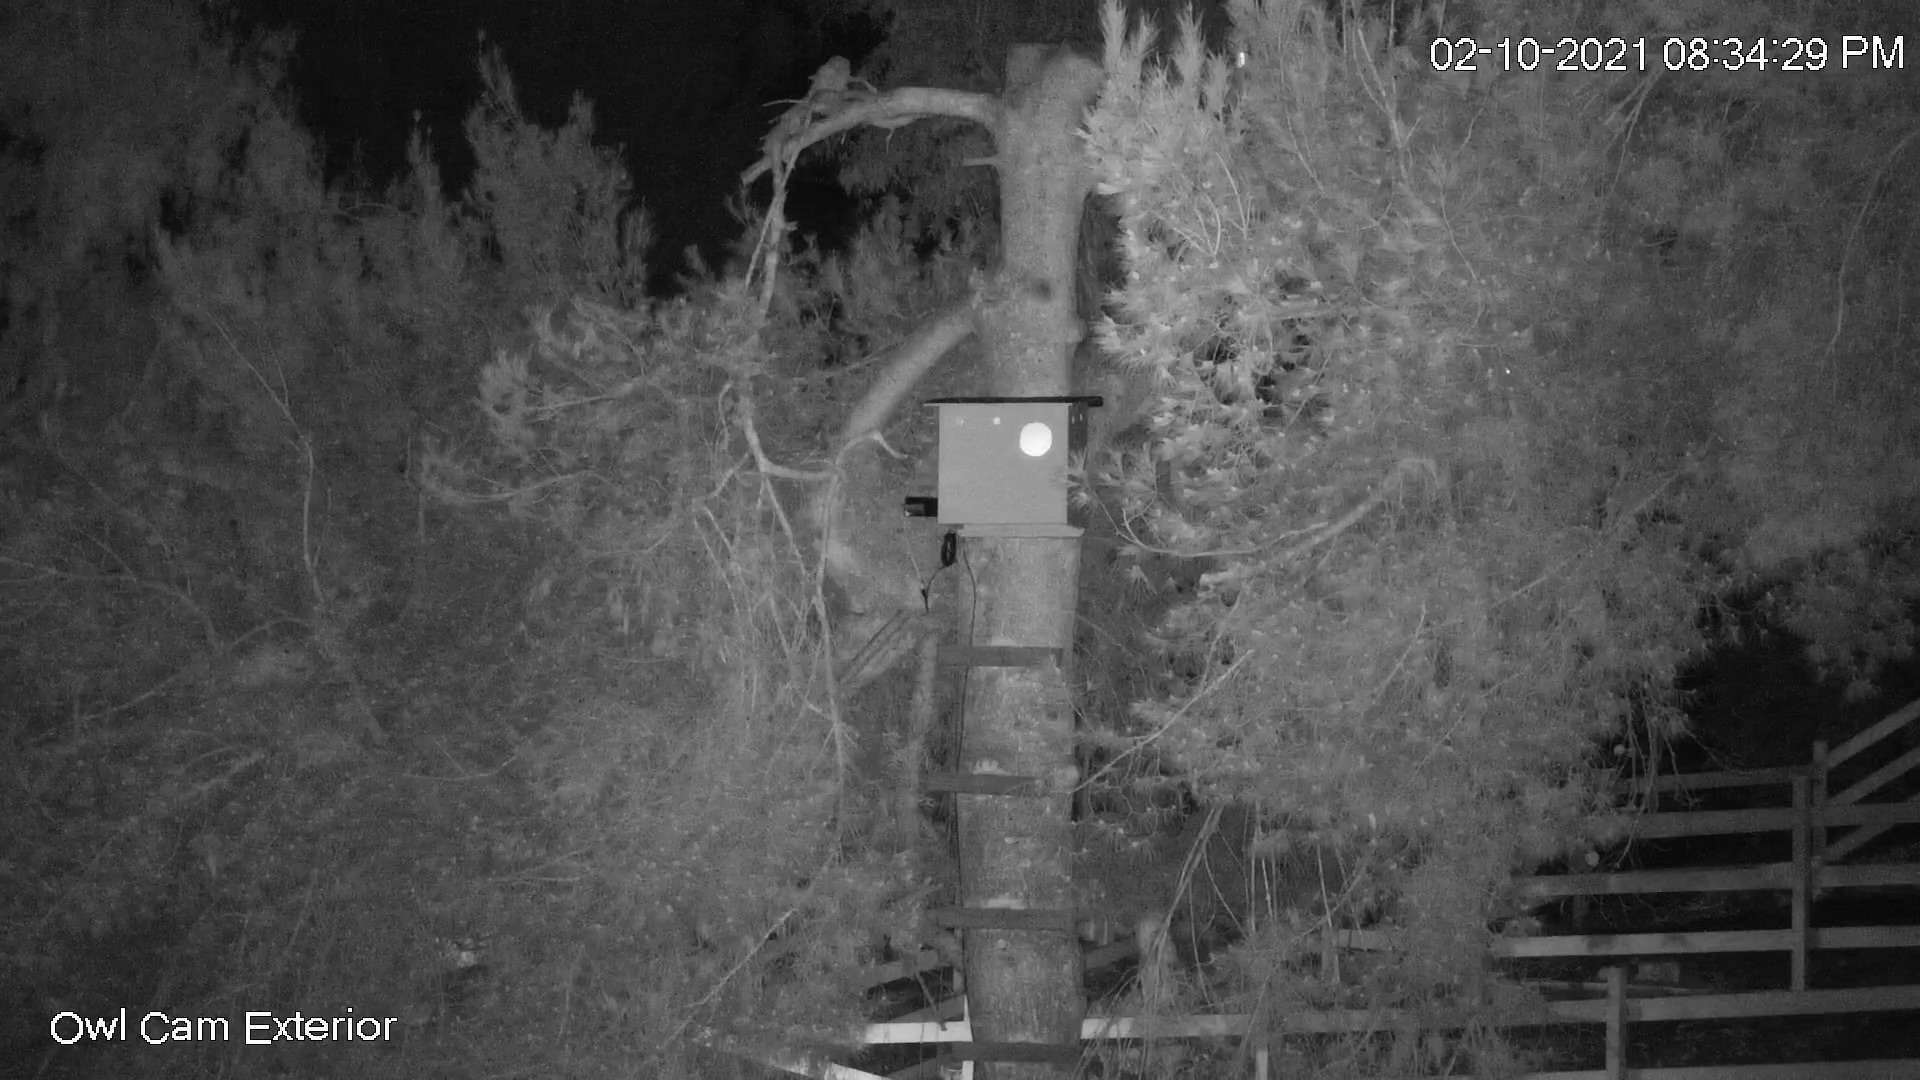
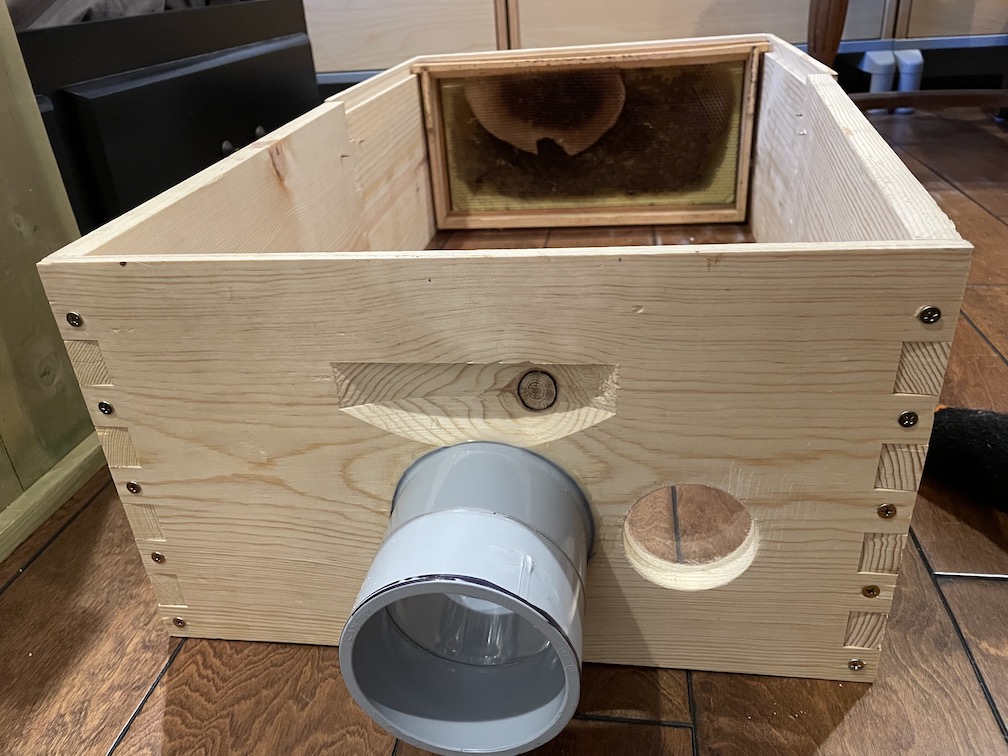
1) as a way to mount a camera against the side of a box, like my Swarm Trap or Owl Box, while providing some light shielding, like a baffle.
2) As a sunshade for my cameras that are pointing South (from the Northern hemisphere)
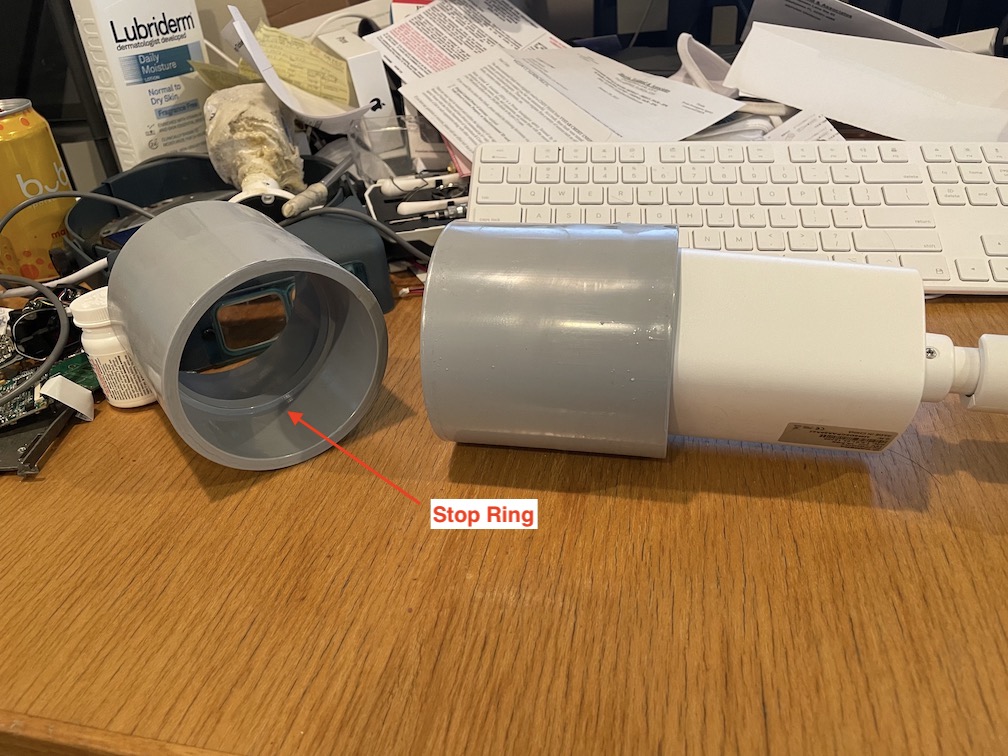
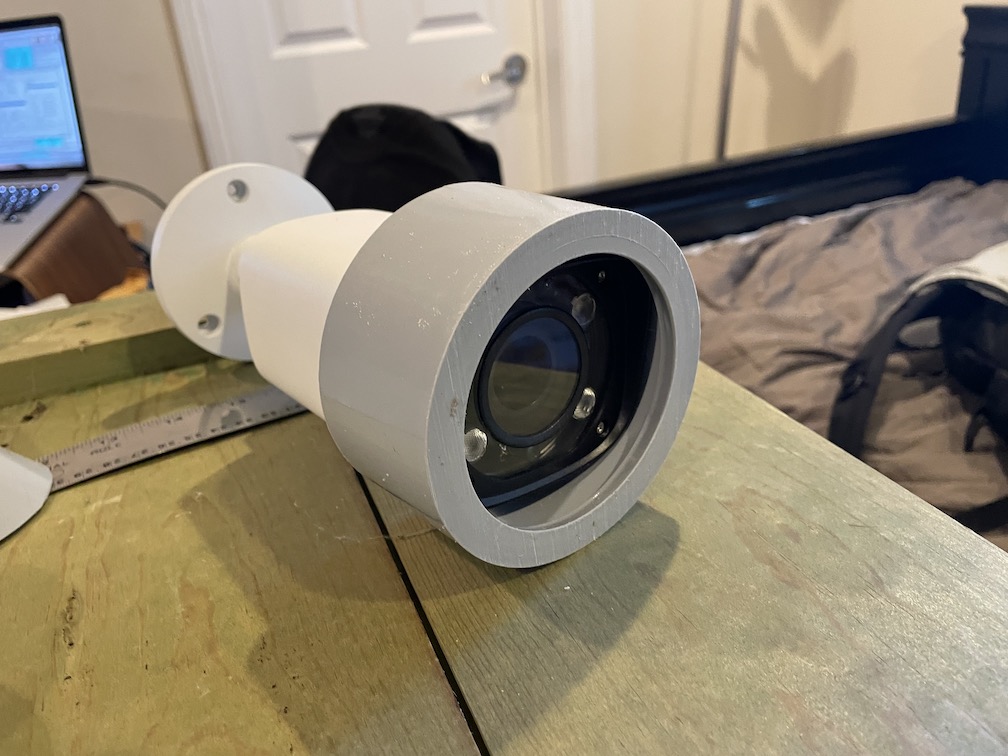
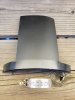
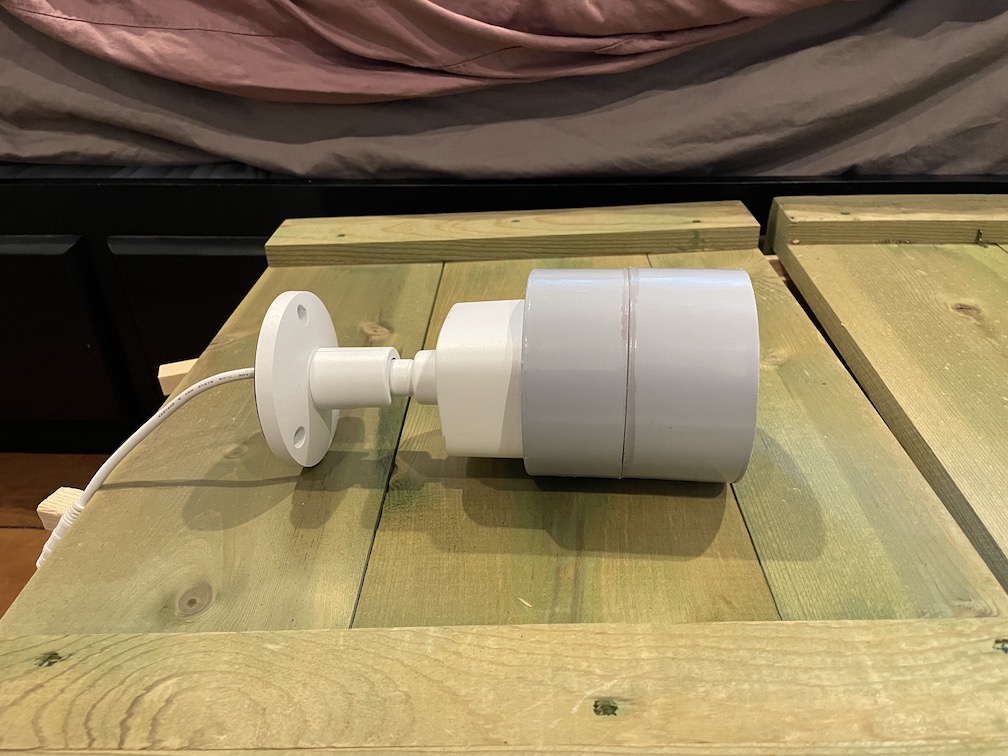
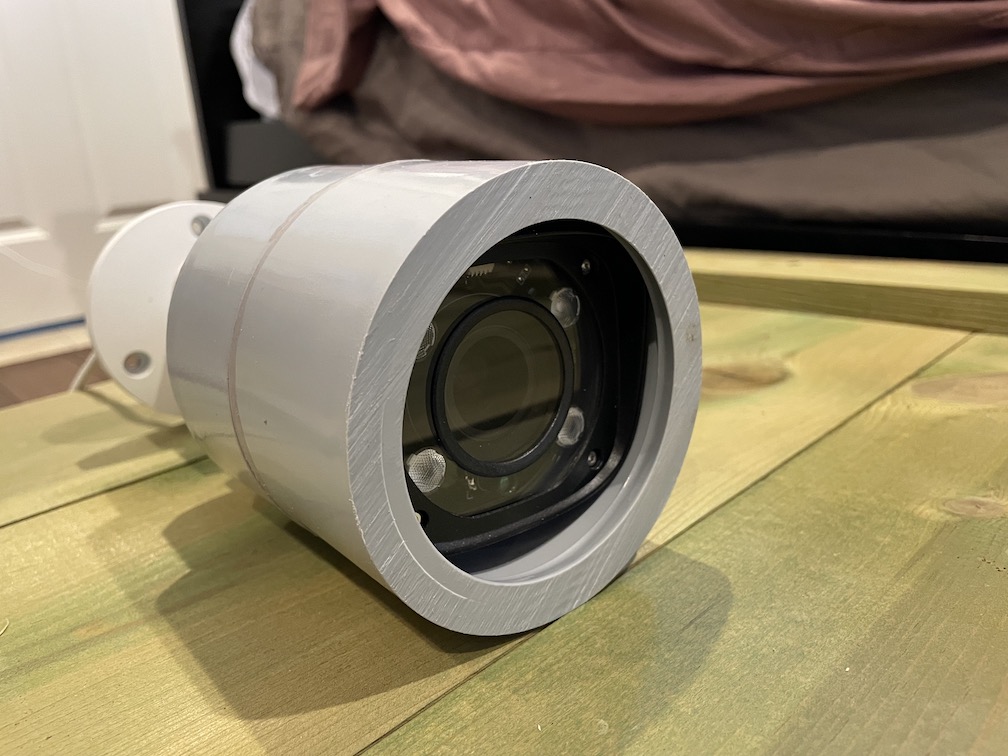
Here's my camera inserted into one of them:
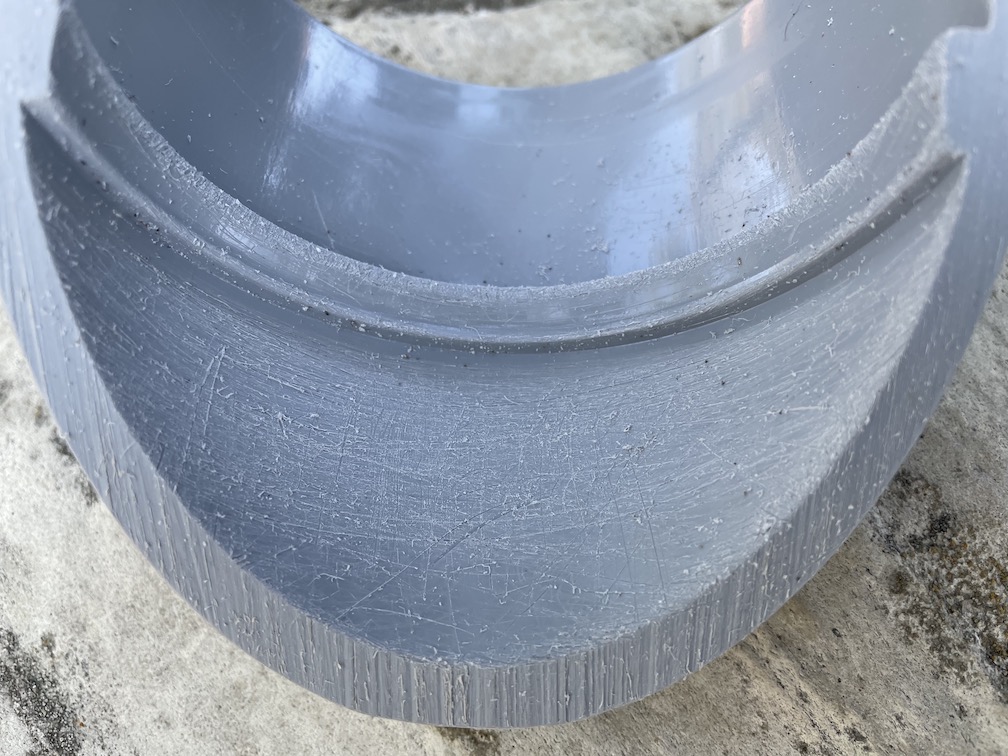
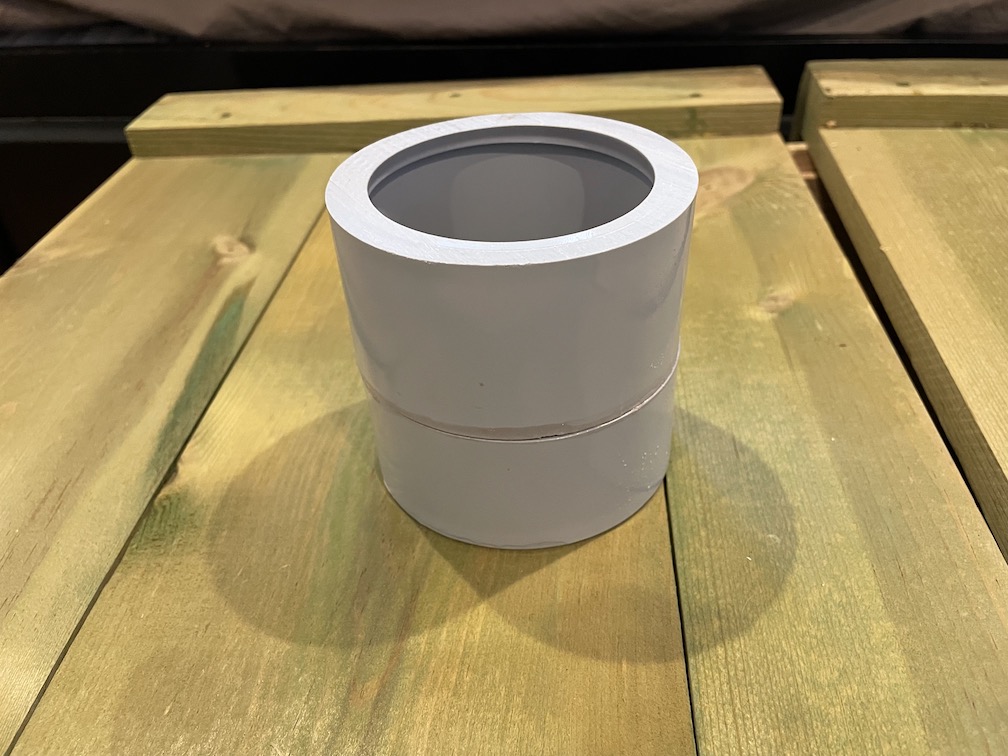
The fit is pretty good, except that there's a "stop ring" inside the coupler, to ensure that an inserted PVC pipe would be correctly seated. Here's what that looks like when the camera butts up against it:
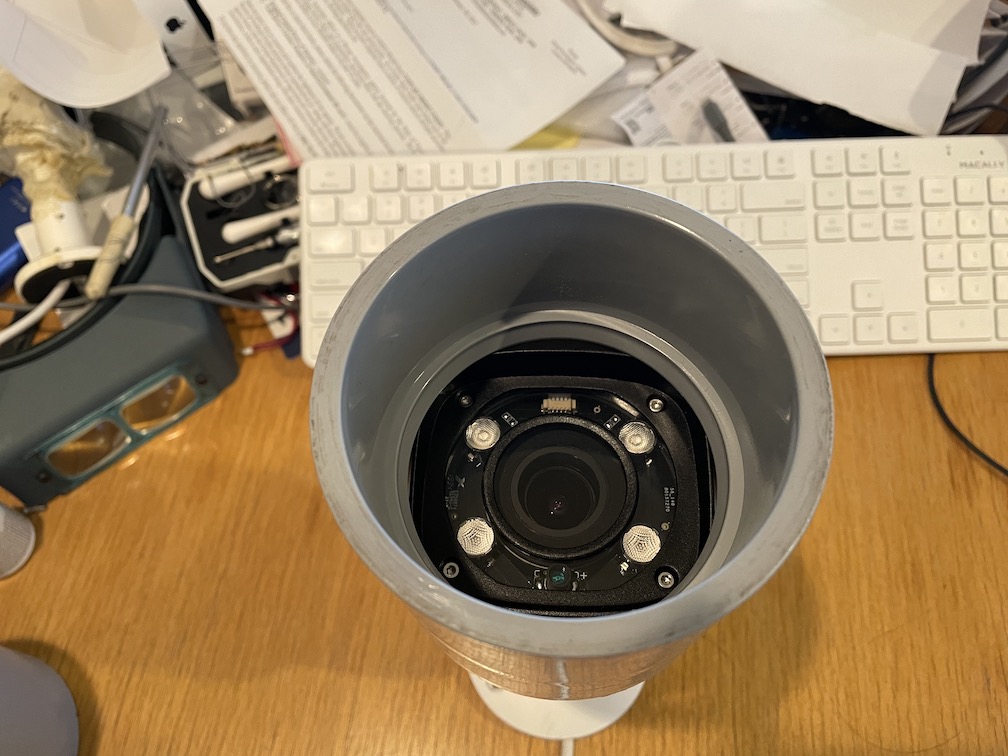
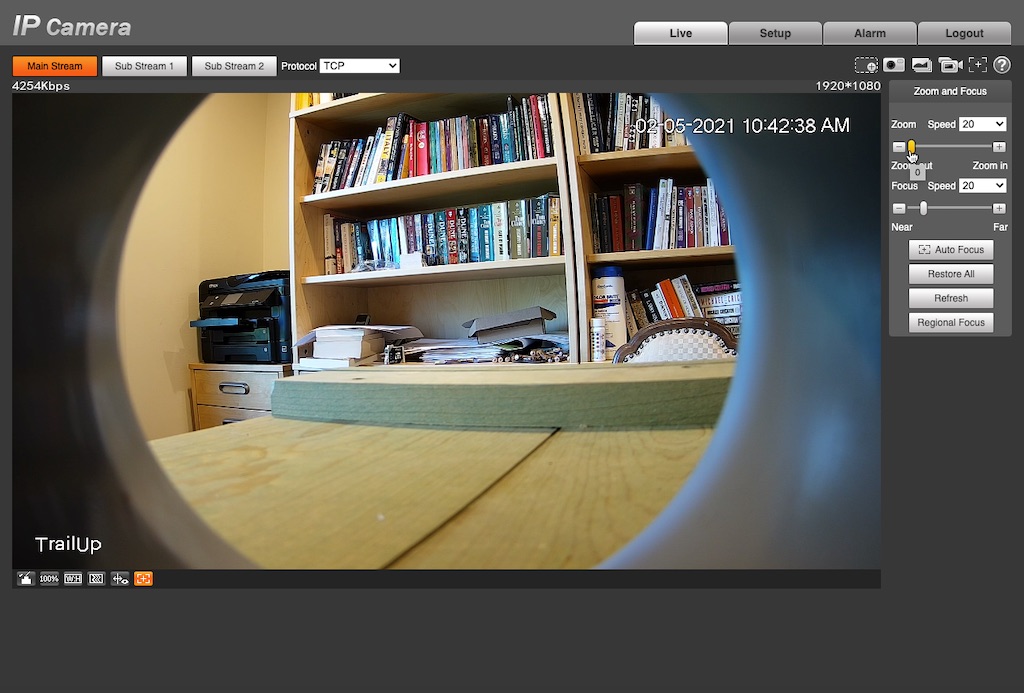
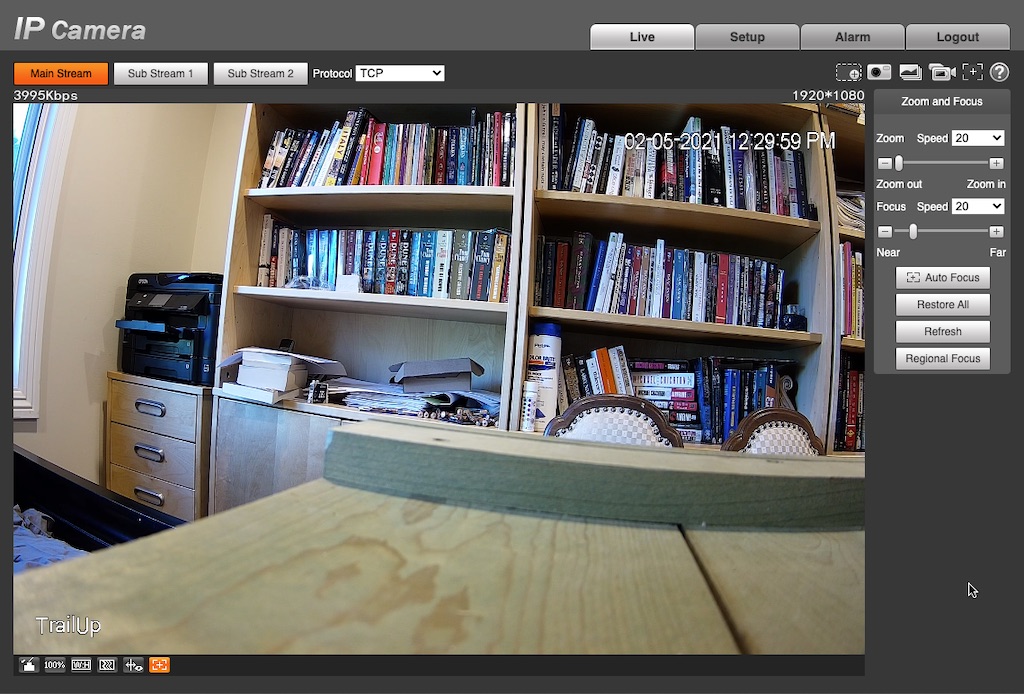
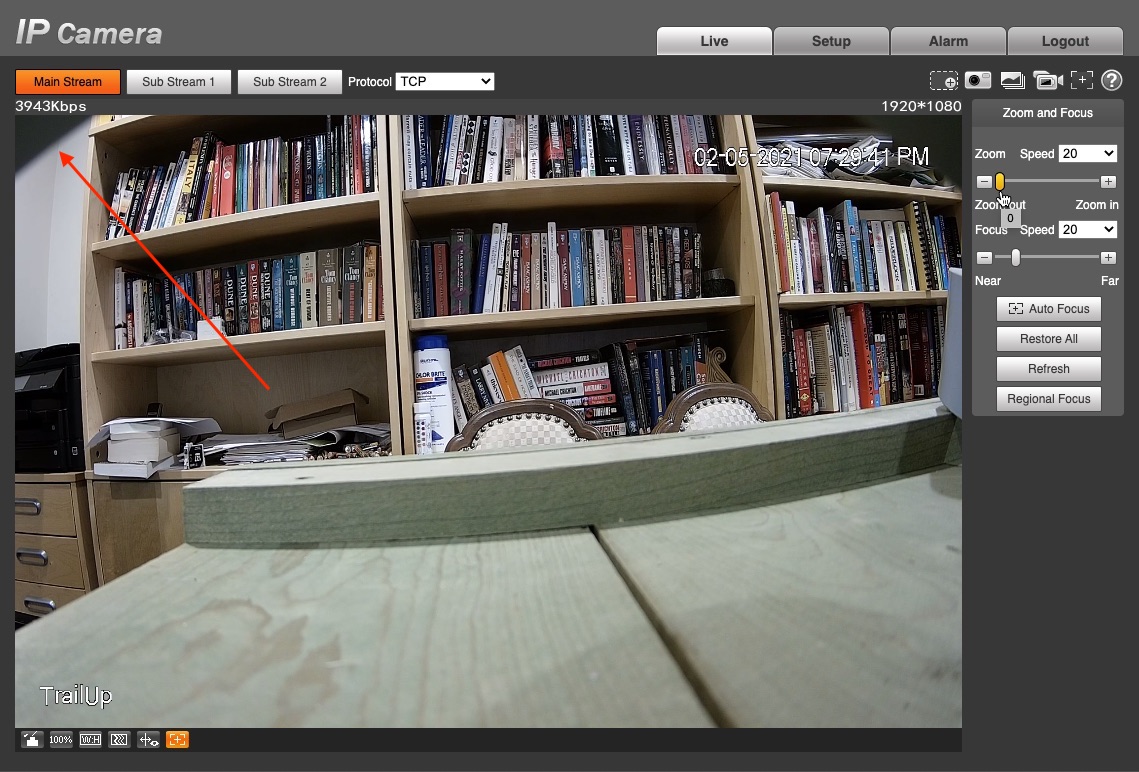
That's going to impinge upon my FOV unless I either cut it off, remove the stop ring, or zoom in. Here's what that looks like, zoomed out:
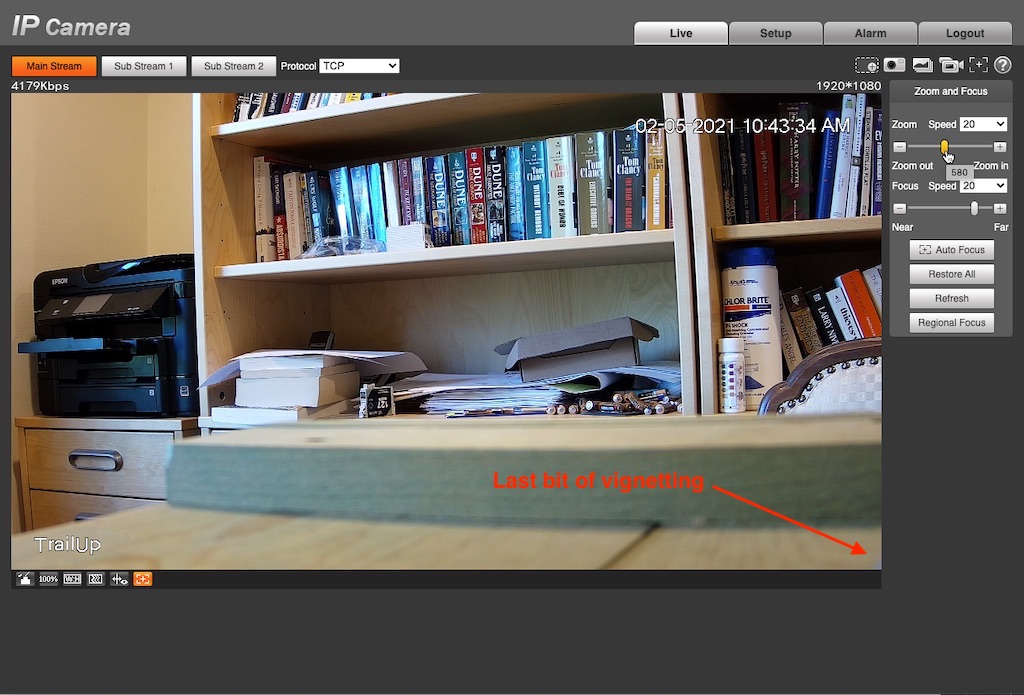
If I zoom in to "580" on the controller, out of a possible 1350, the vignetting is almost gone:
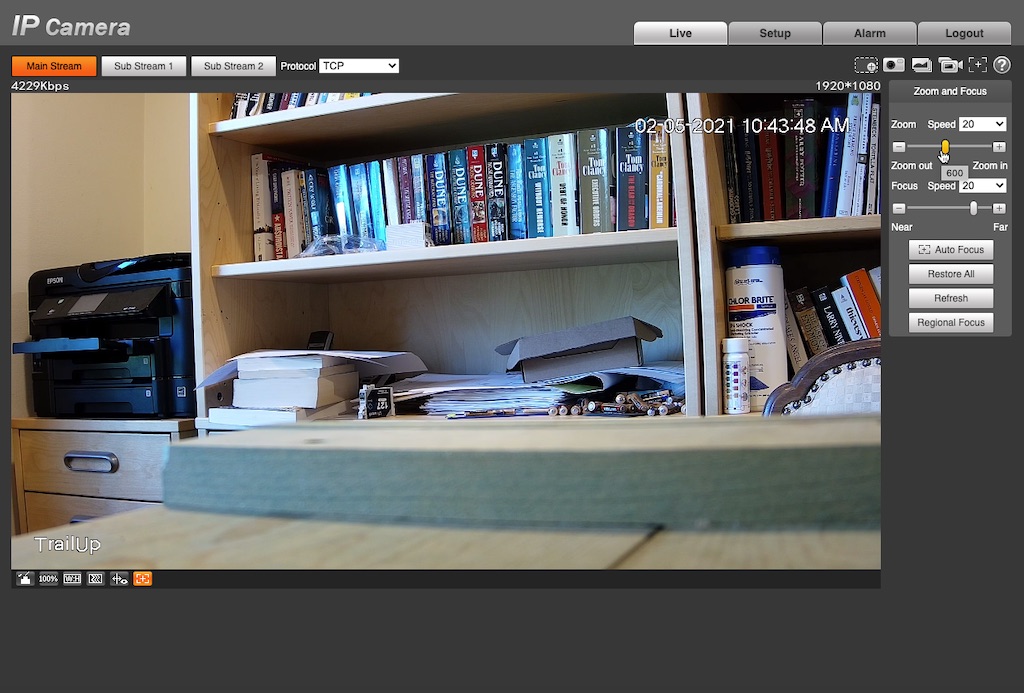
and at 600, it's completely gone:
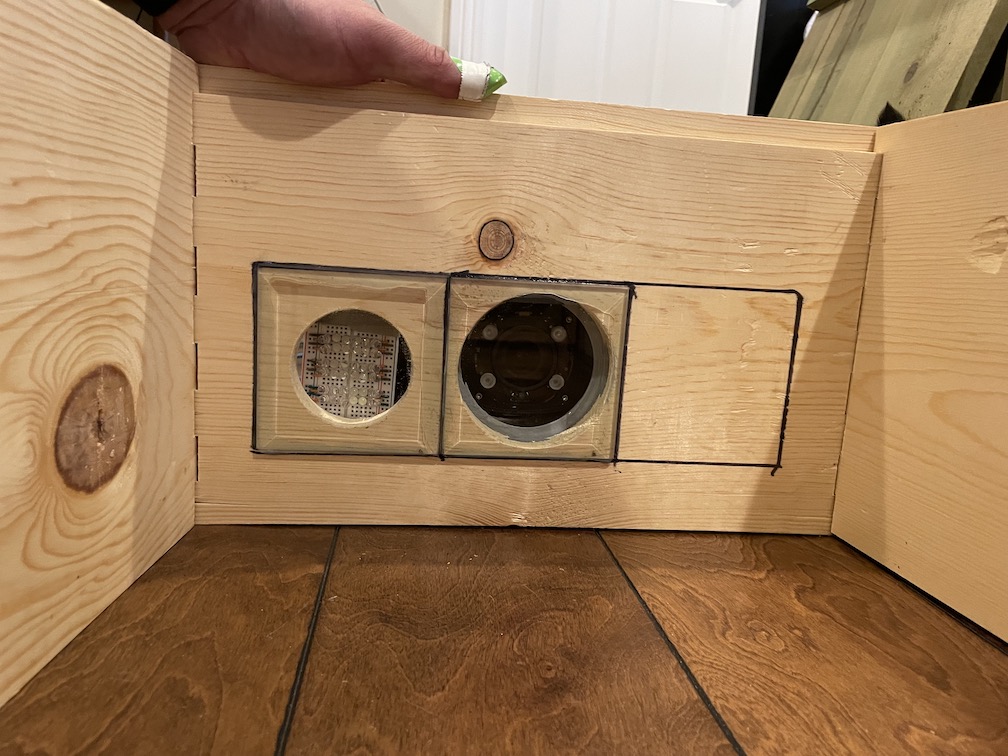
If I cut off the coupler off at the stop ring:
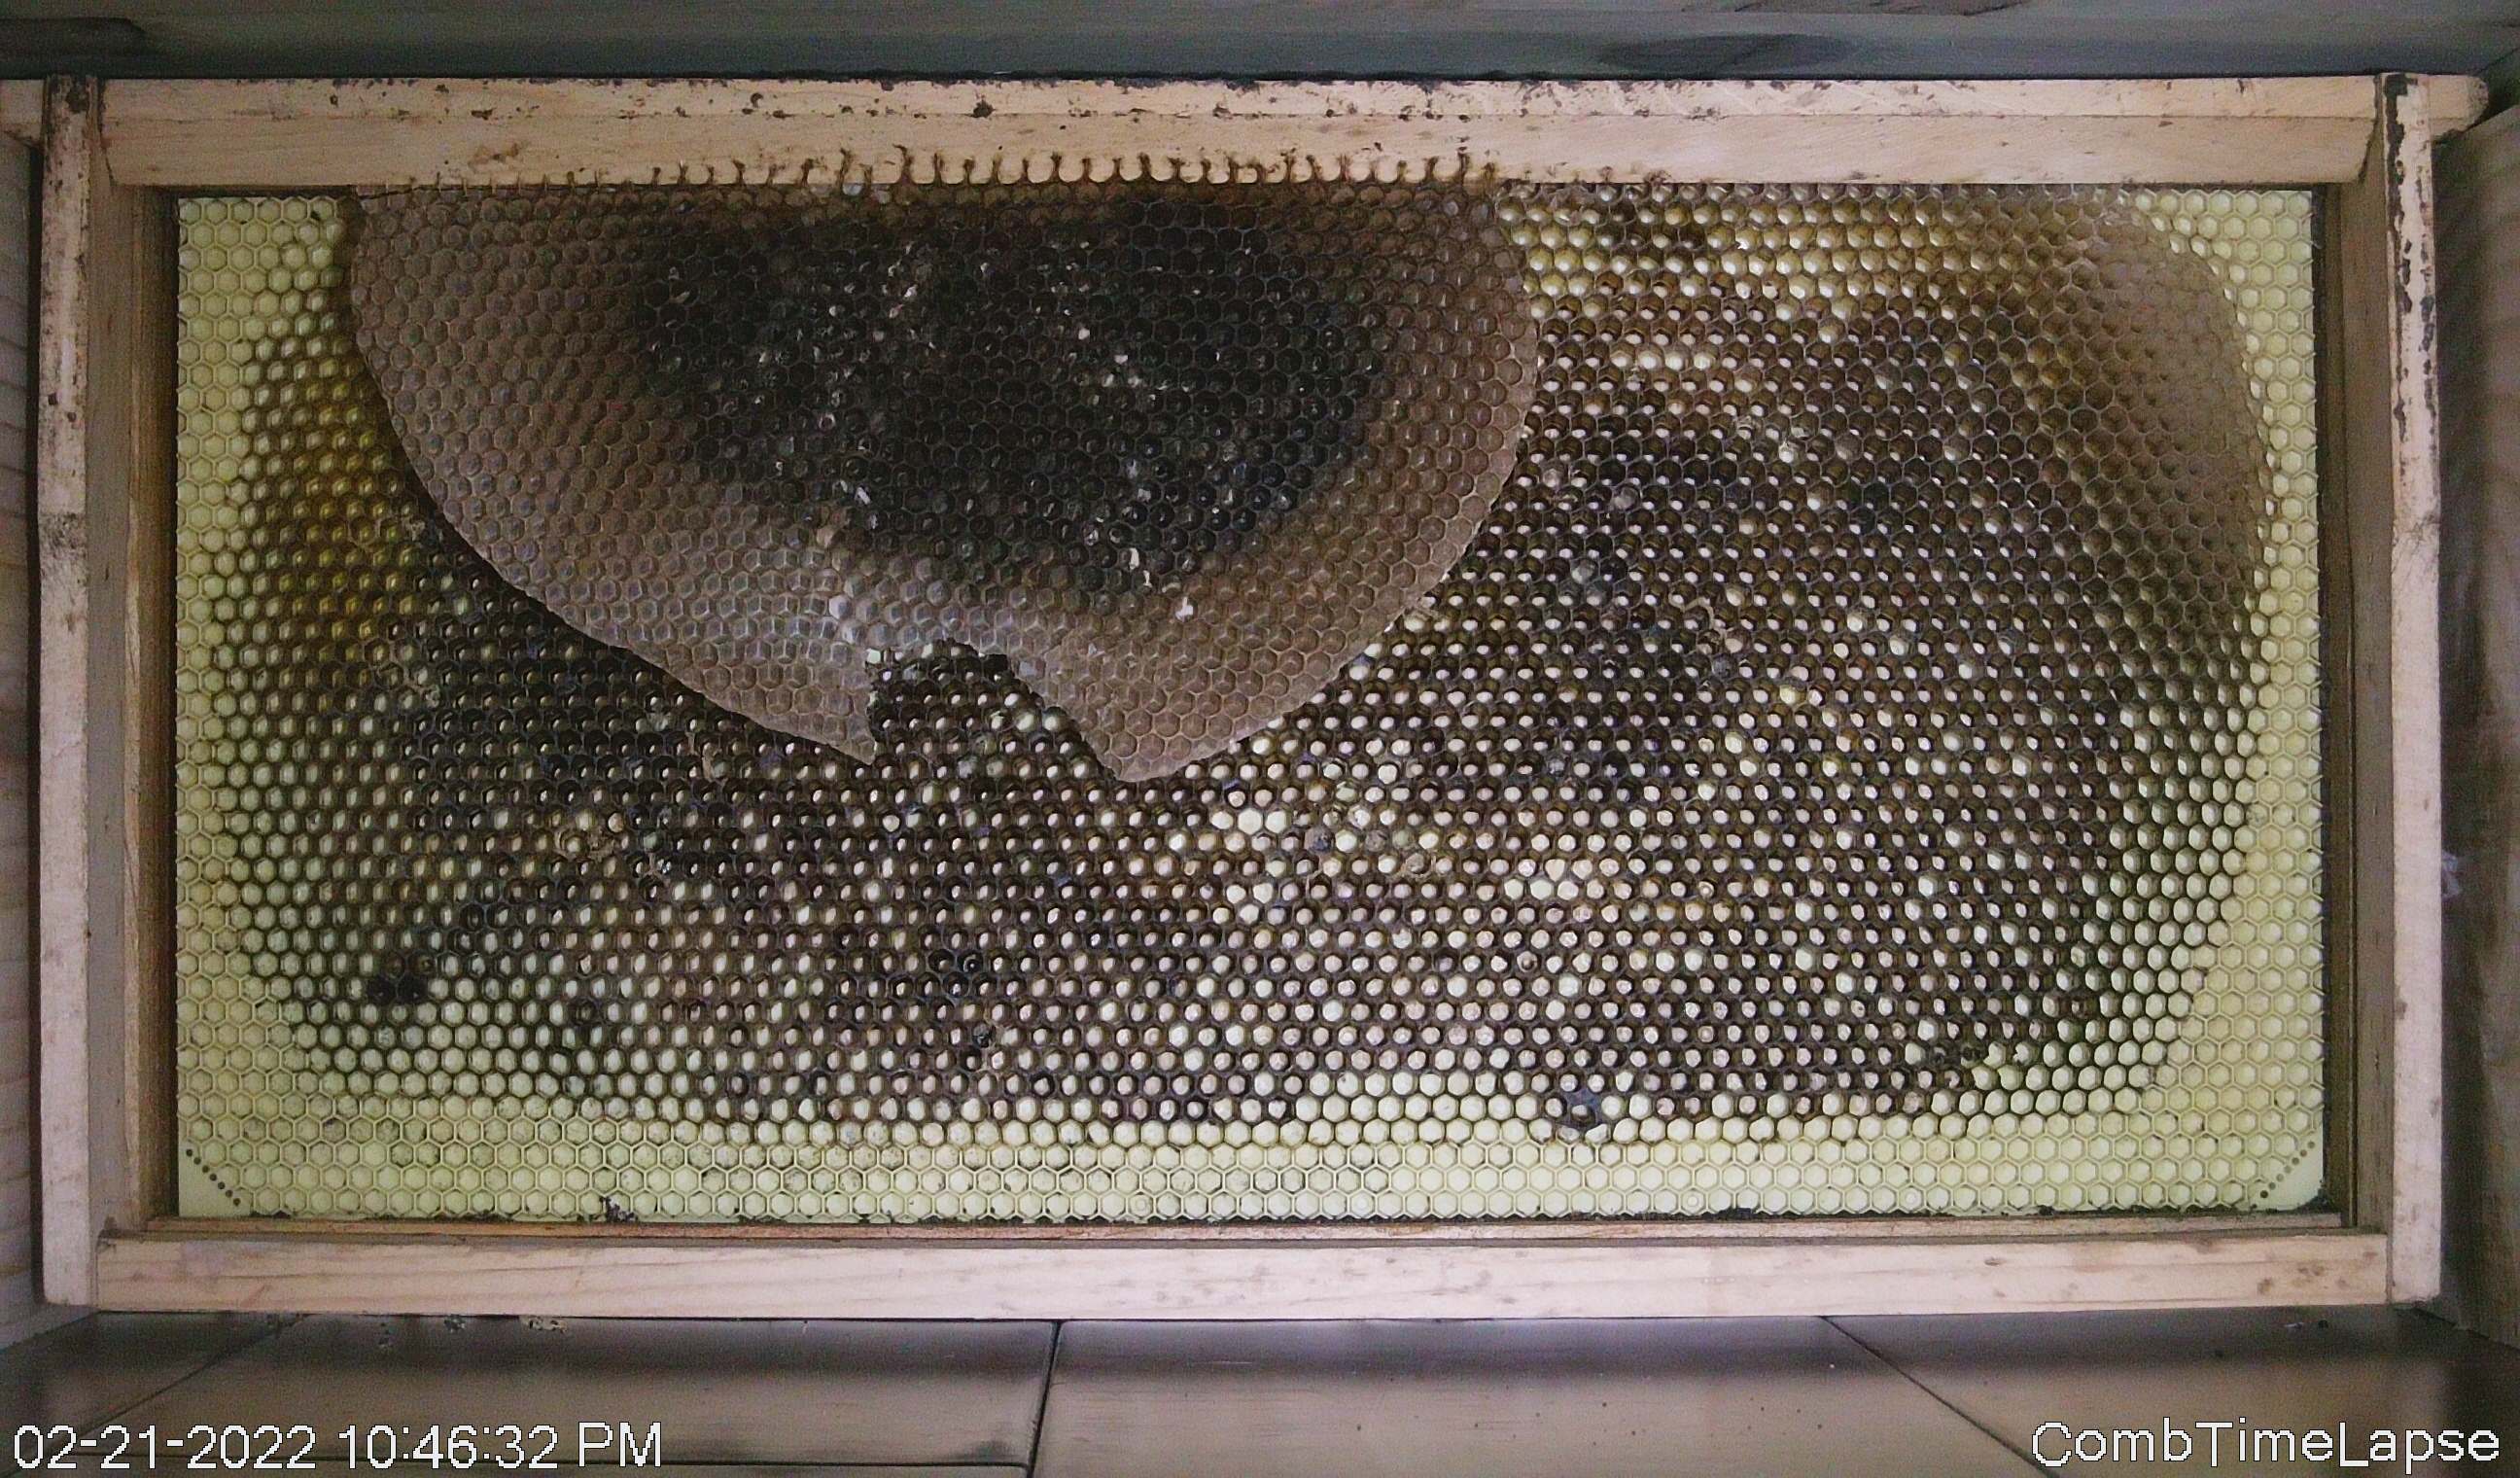
then the camera never sees it, even zoomed out to 0:
So this might be suitable as a way to mount a camera against the side of the box, as long as I can cover the open end with something.
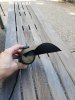
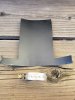
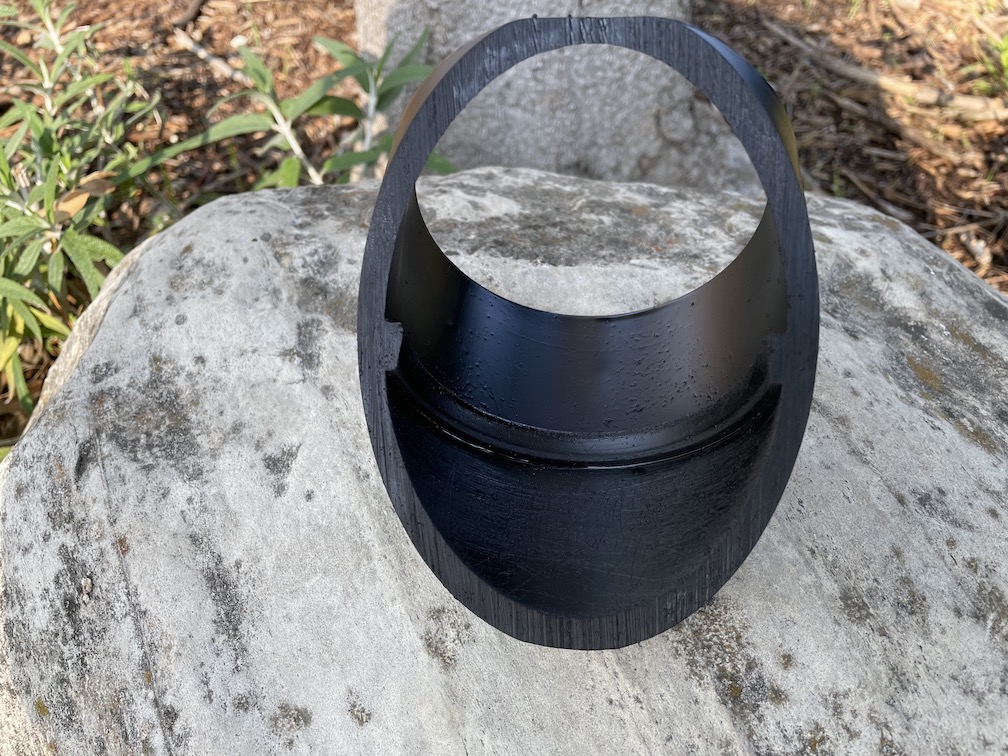
For my sunshade application, I put one on my miter box and cut it 45 degrees:
It's just barely long enough for me to cut it at 45 degrees and still have two "closed" pieces:
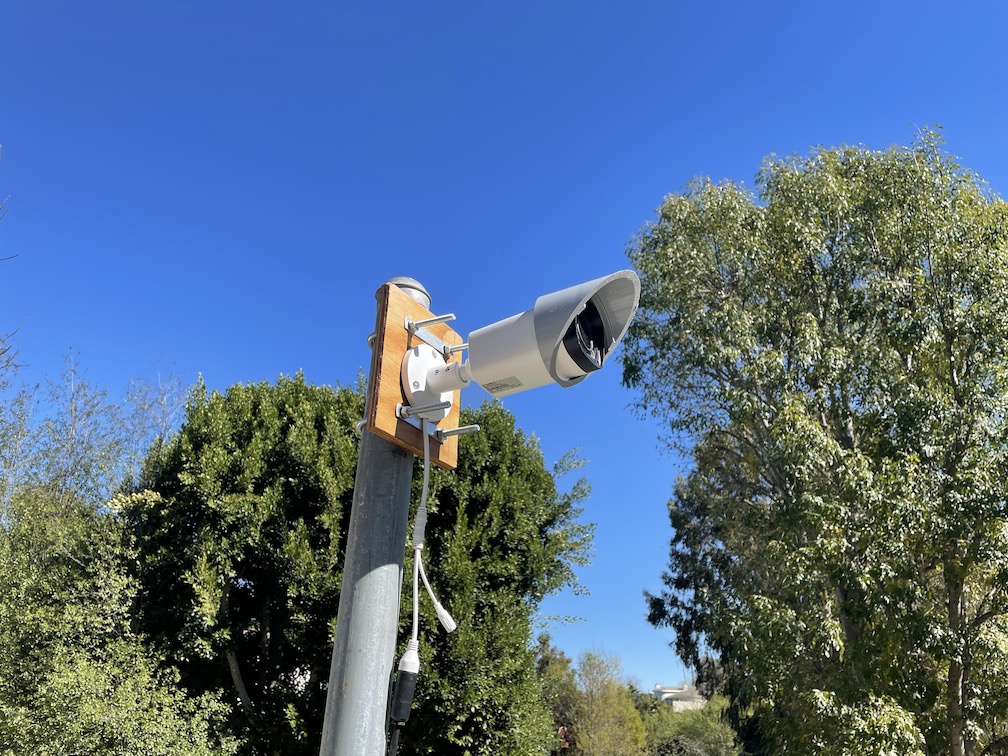
Now I can hang this onto one of my cameras:
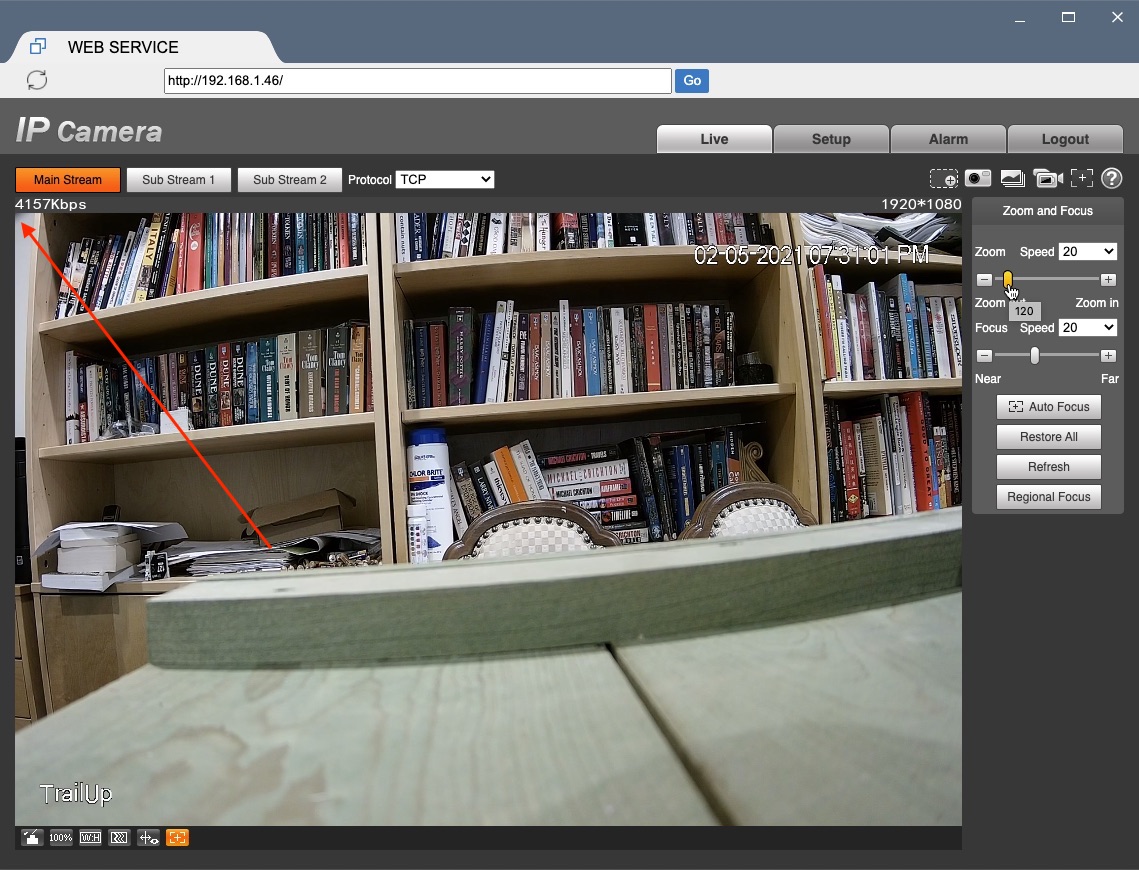
There's some vignetting at the top at zoom 0:
but it's almost gone at zoom 120:
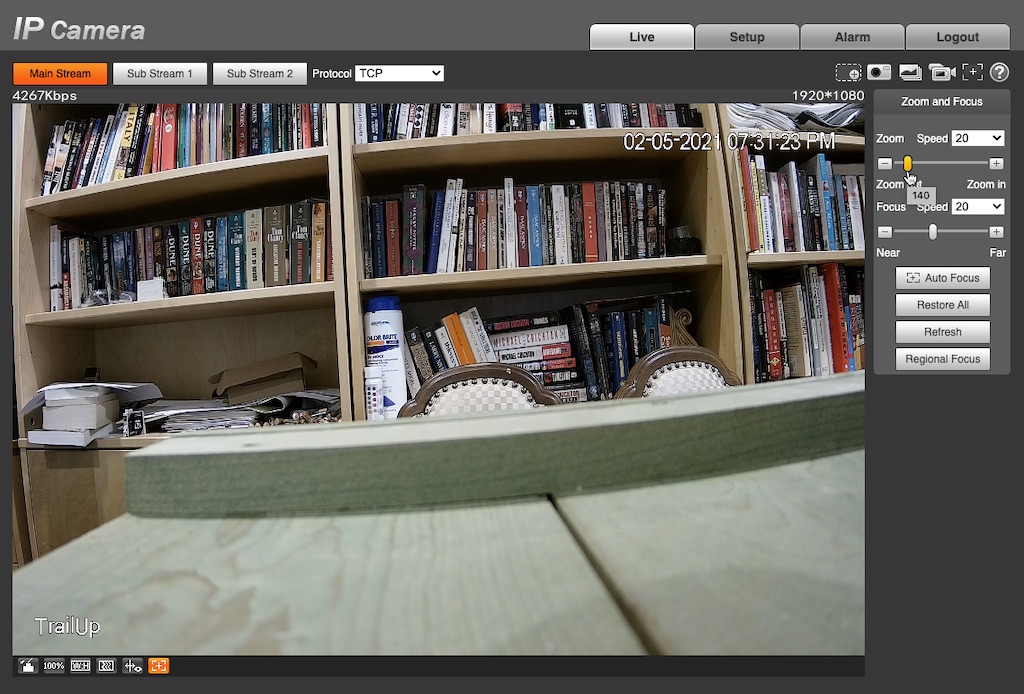
and completely gone at zoom 140:
That's out of a range from 0 - 1350, so the vignetting only occurs when zoomed pretty far out.
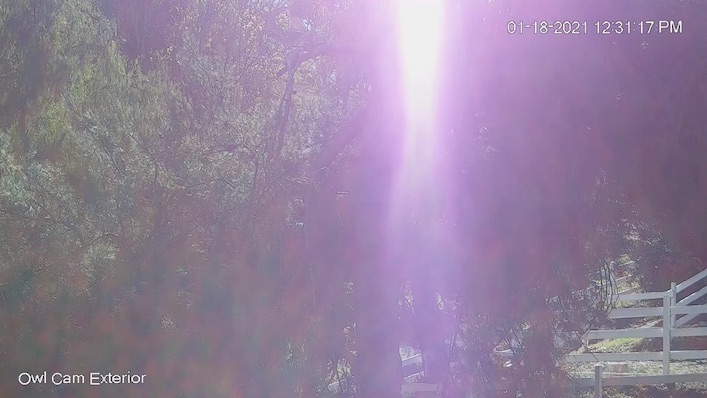
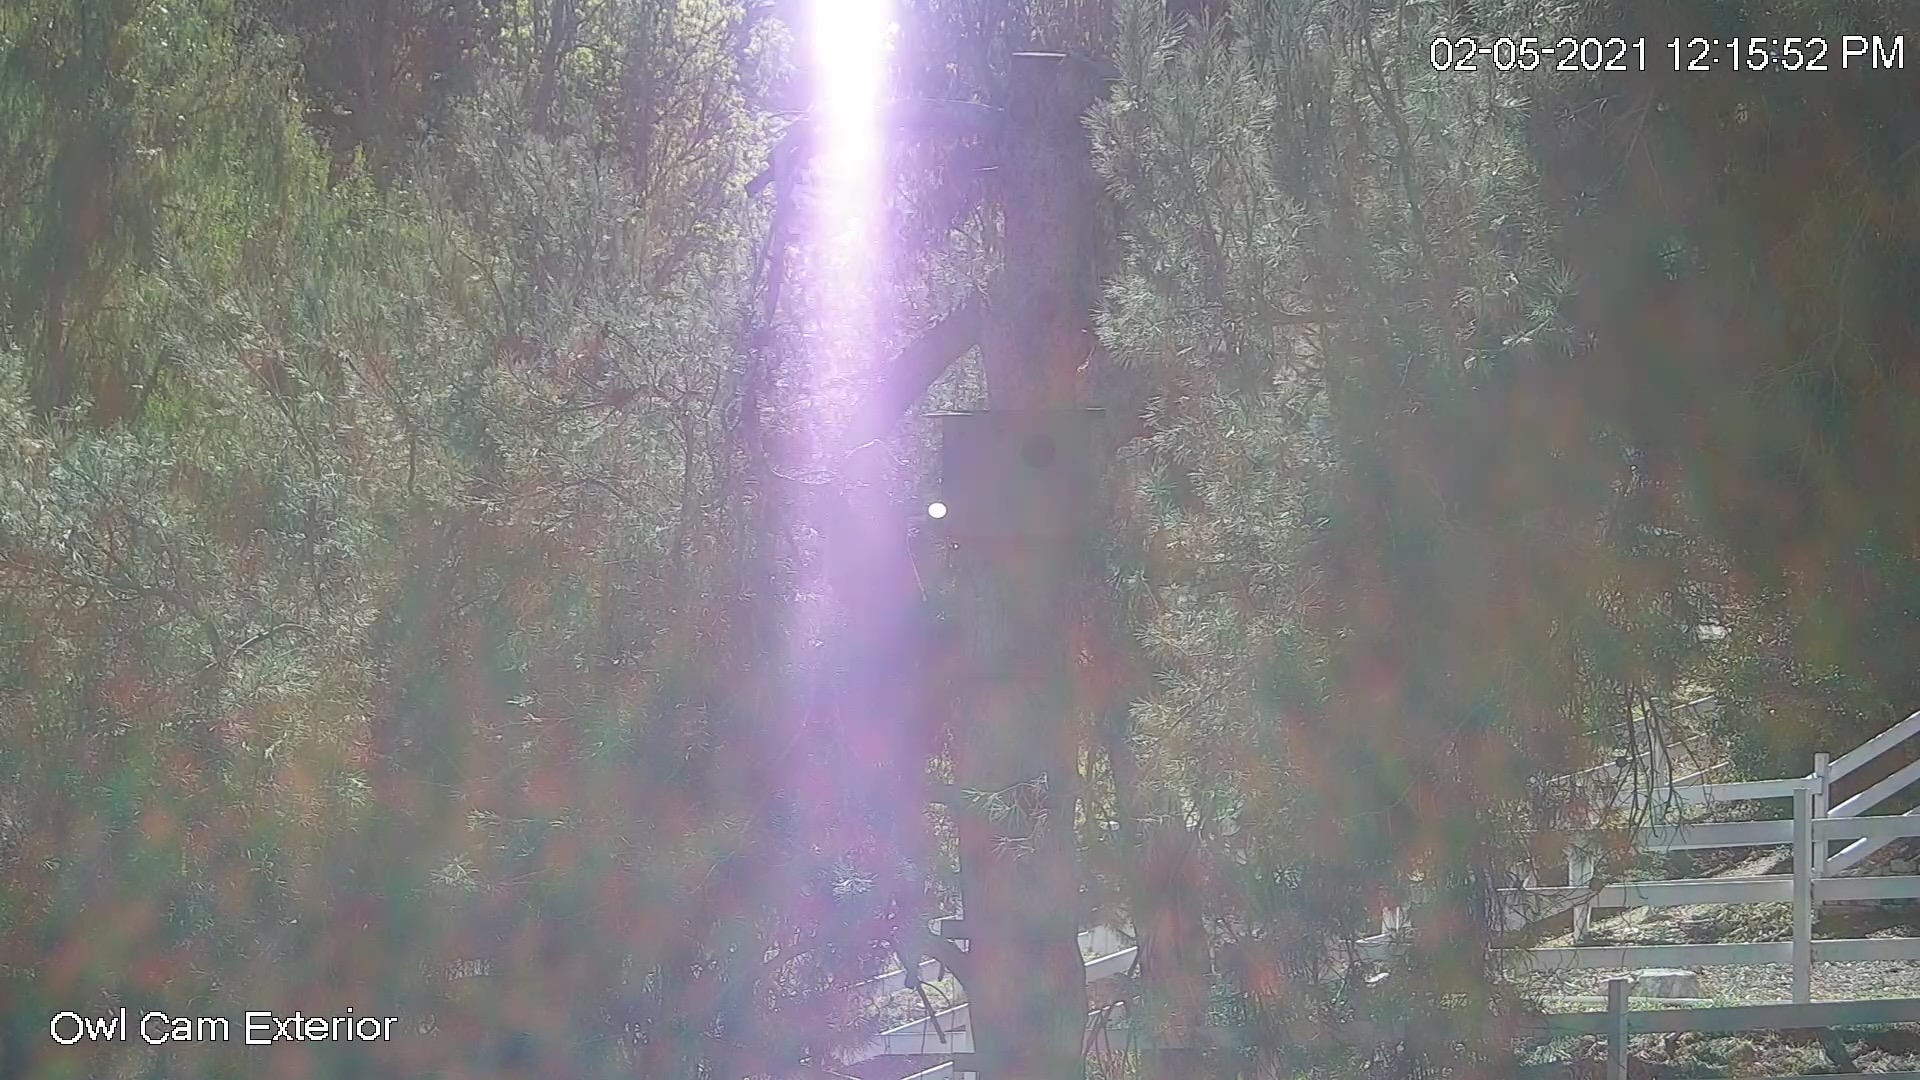
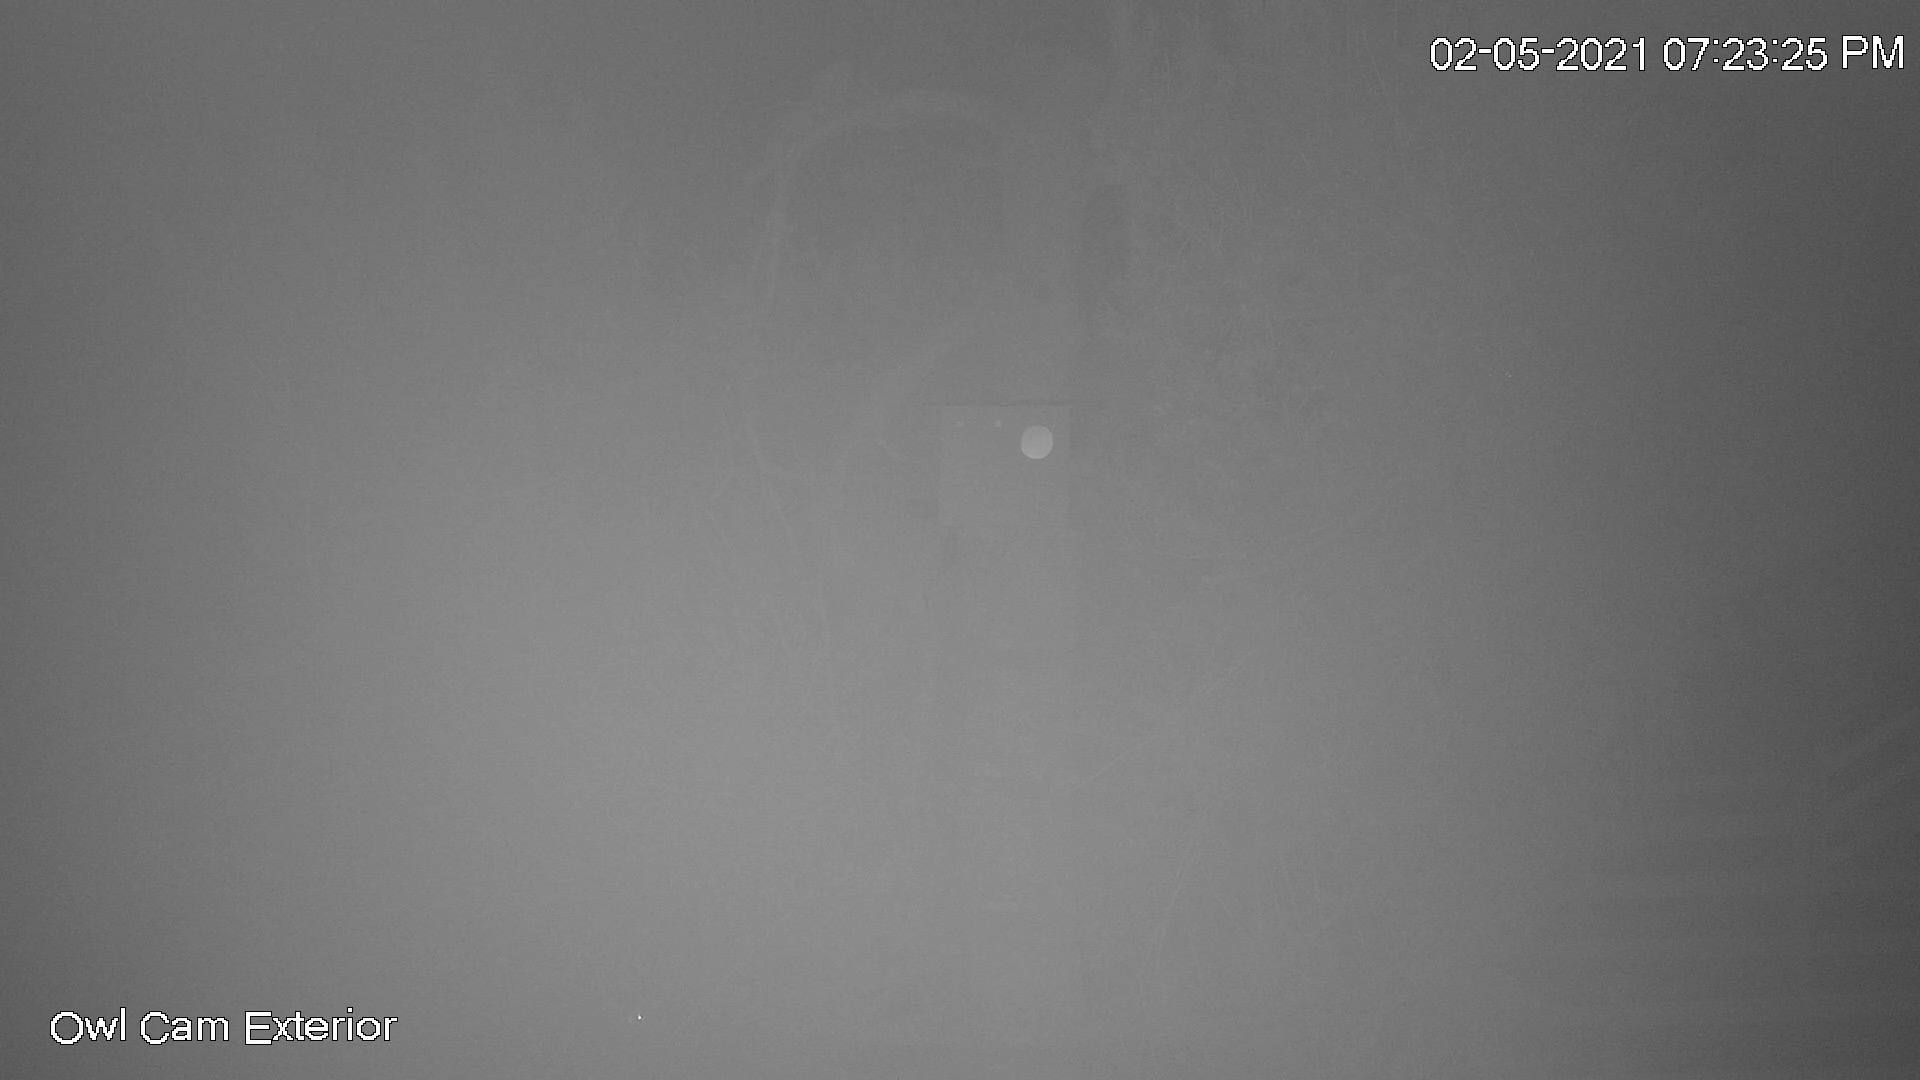
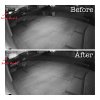
The sunshade works pretty well in daylight. At high noon, without the sunshade, it's terrible:
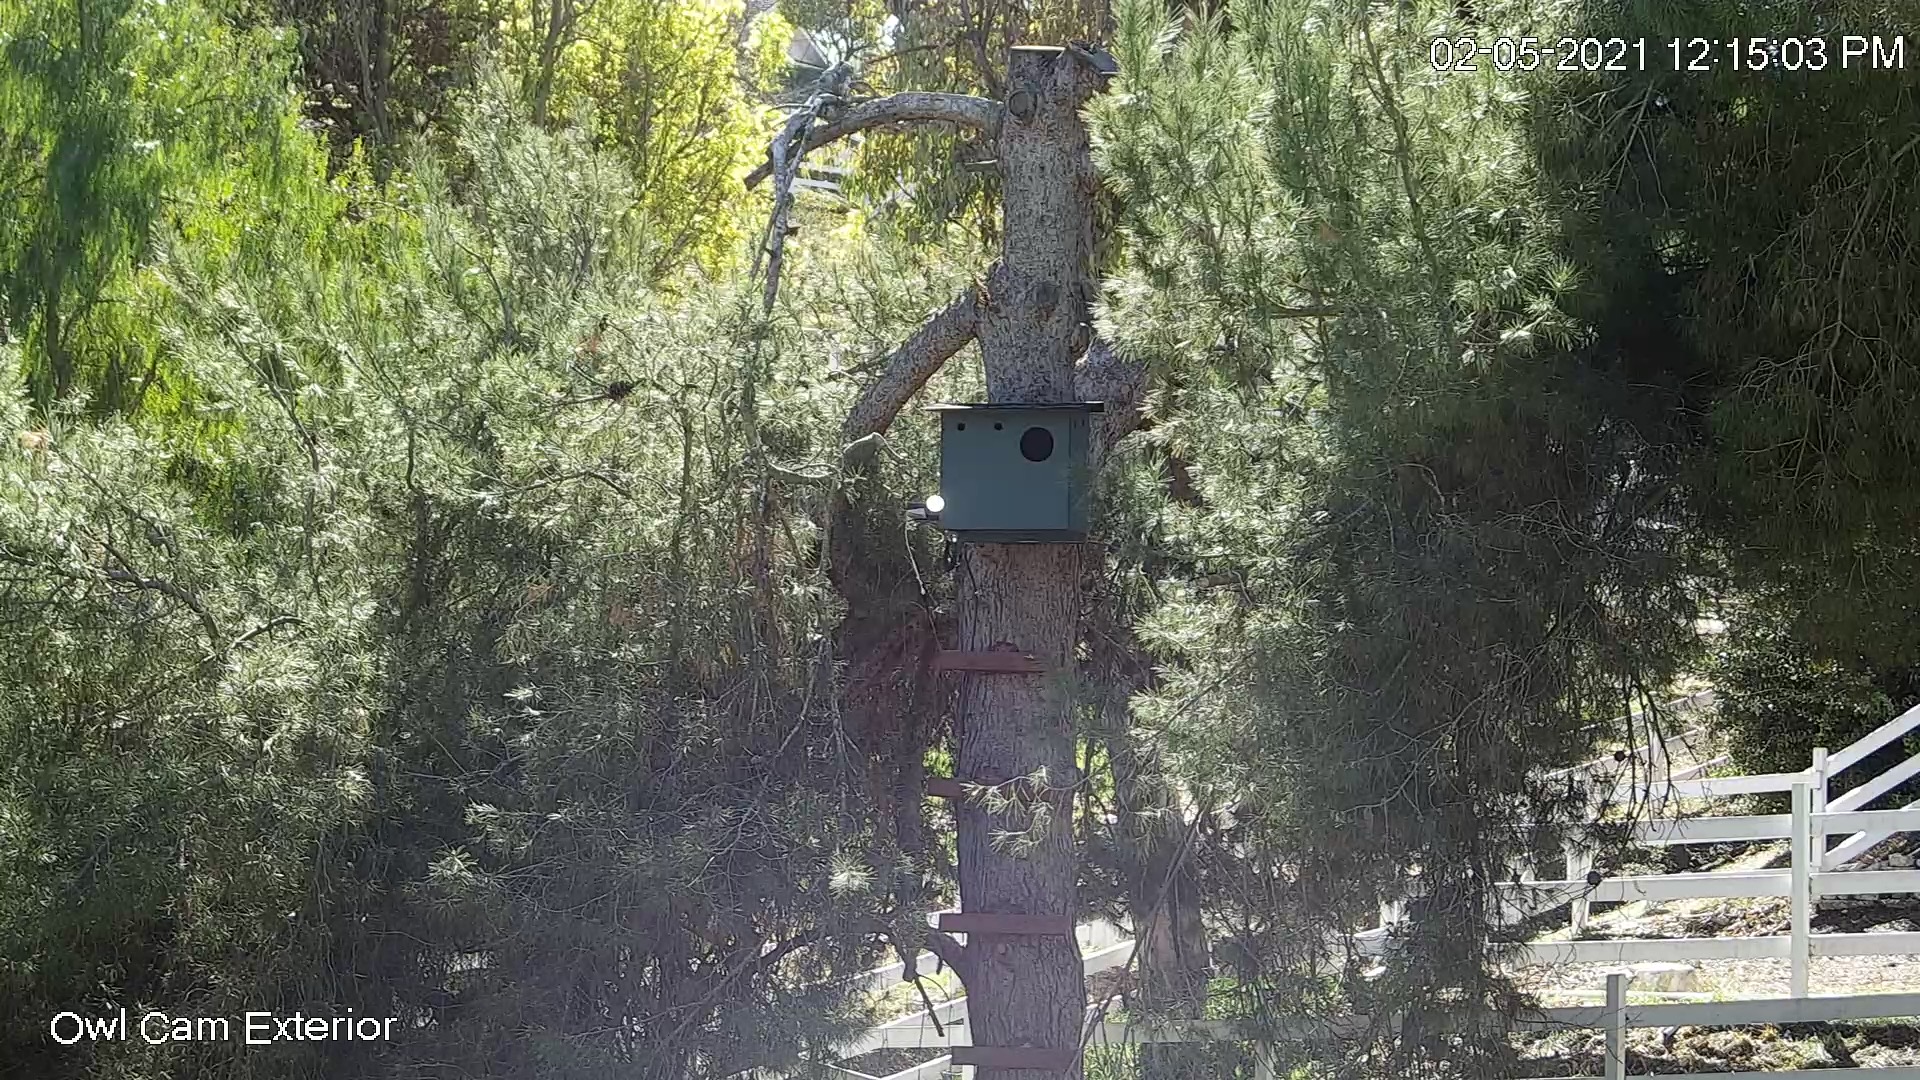
but the sunshade fixes that almost completely:
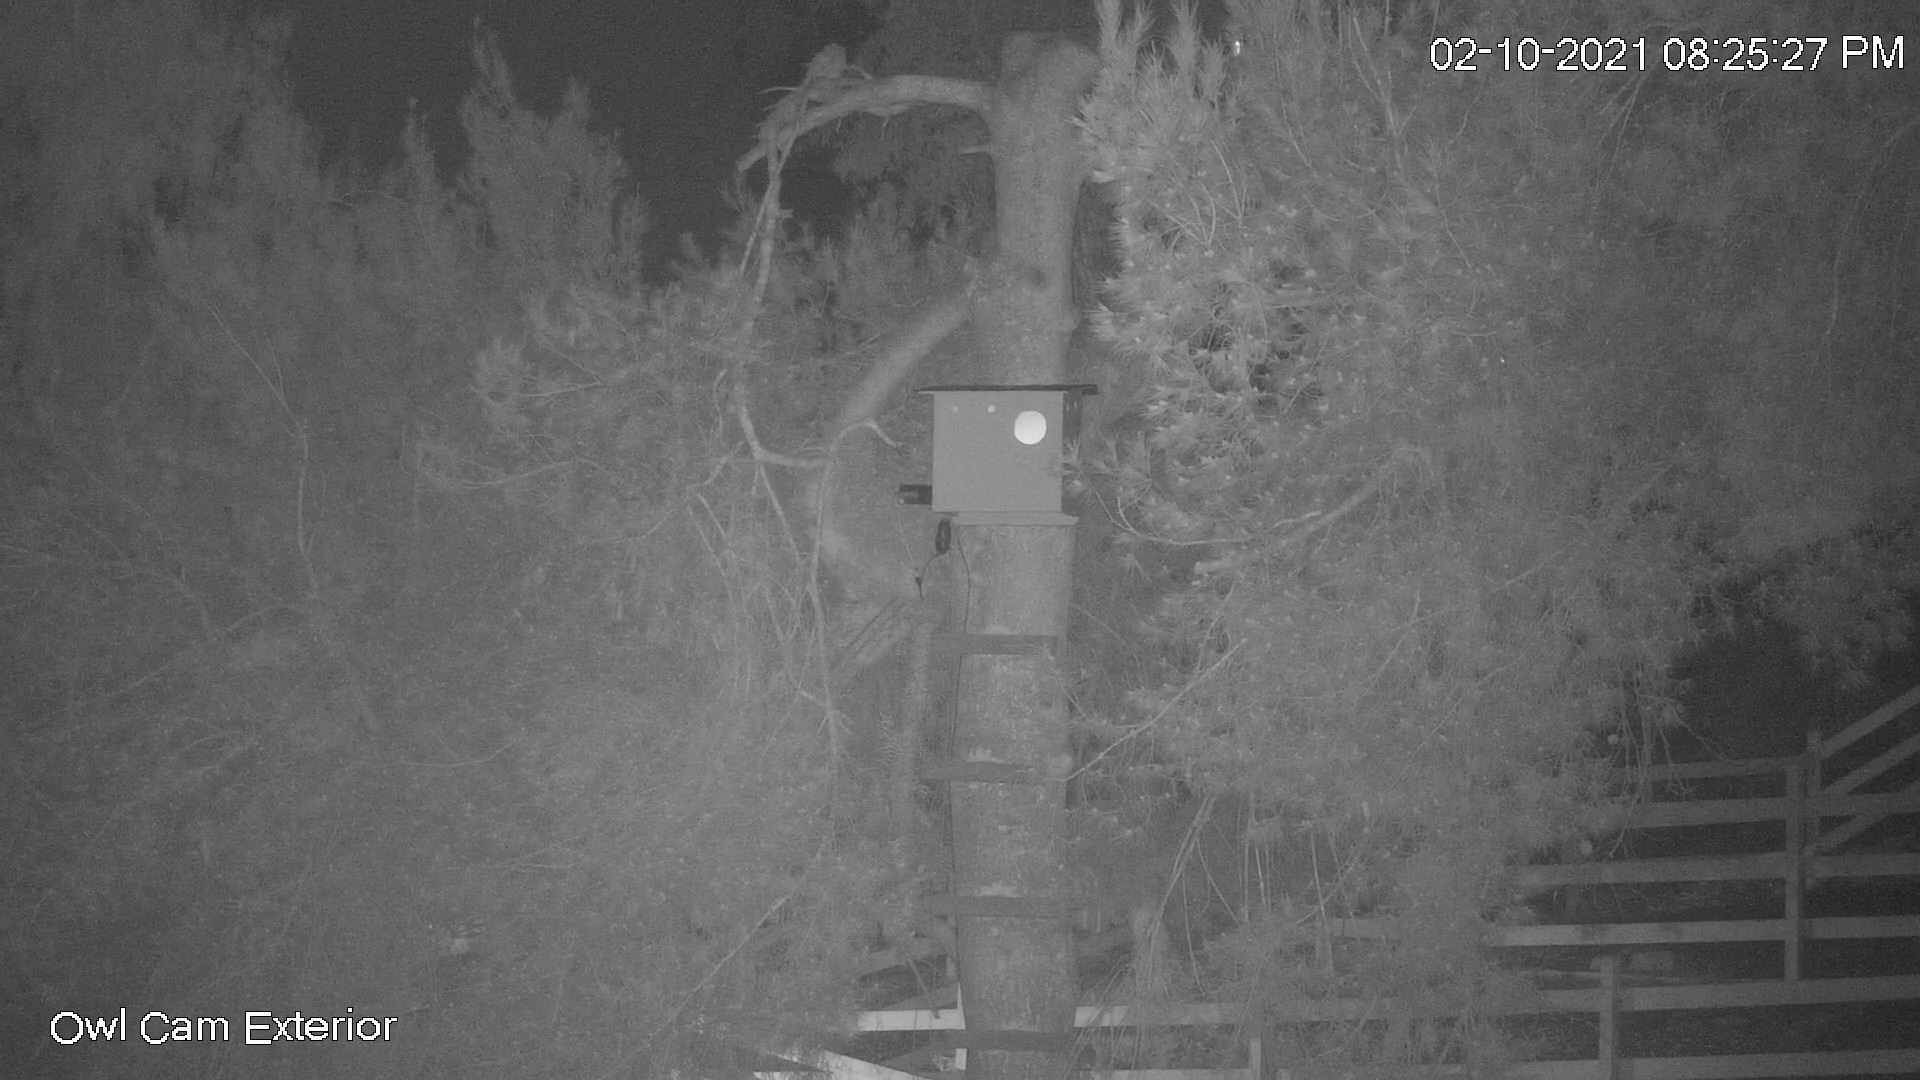
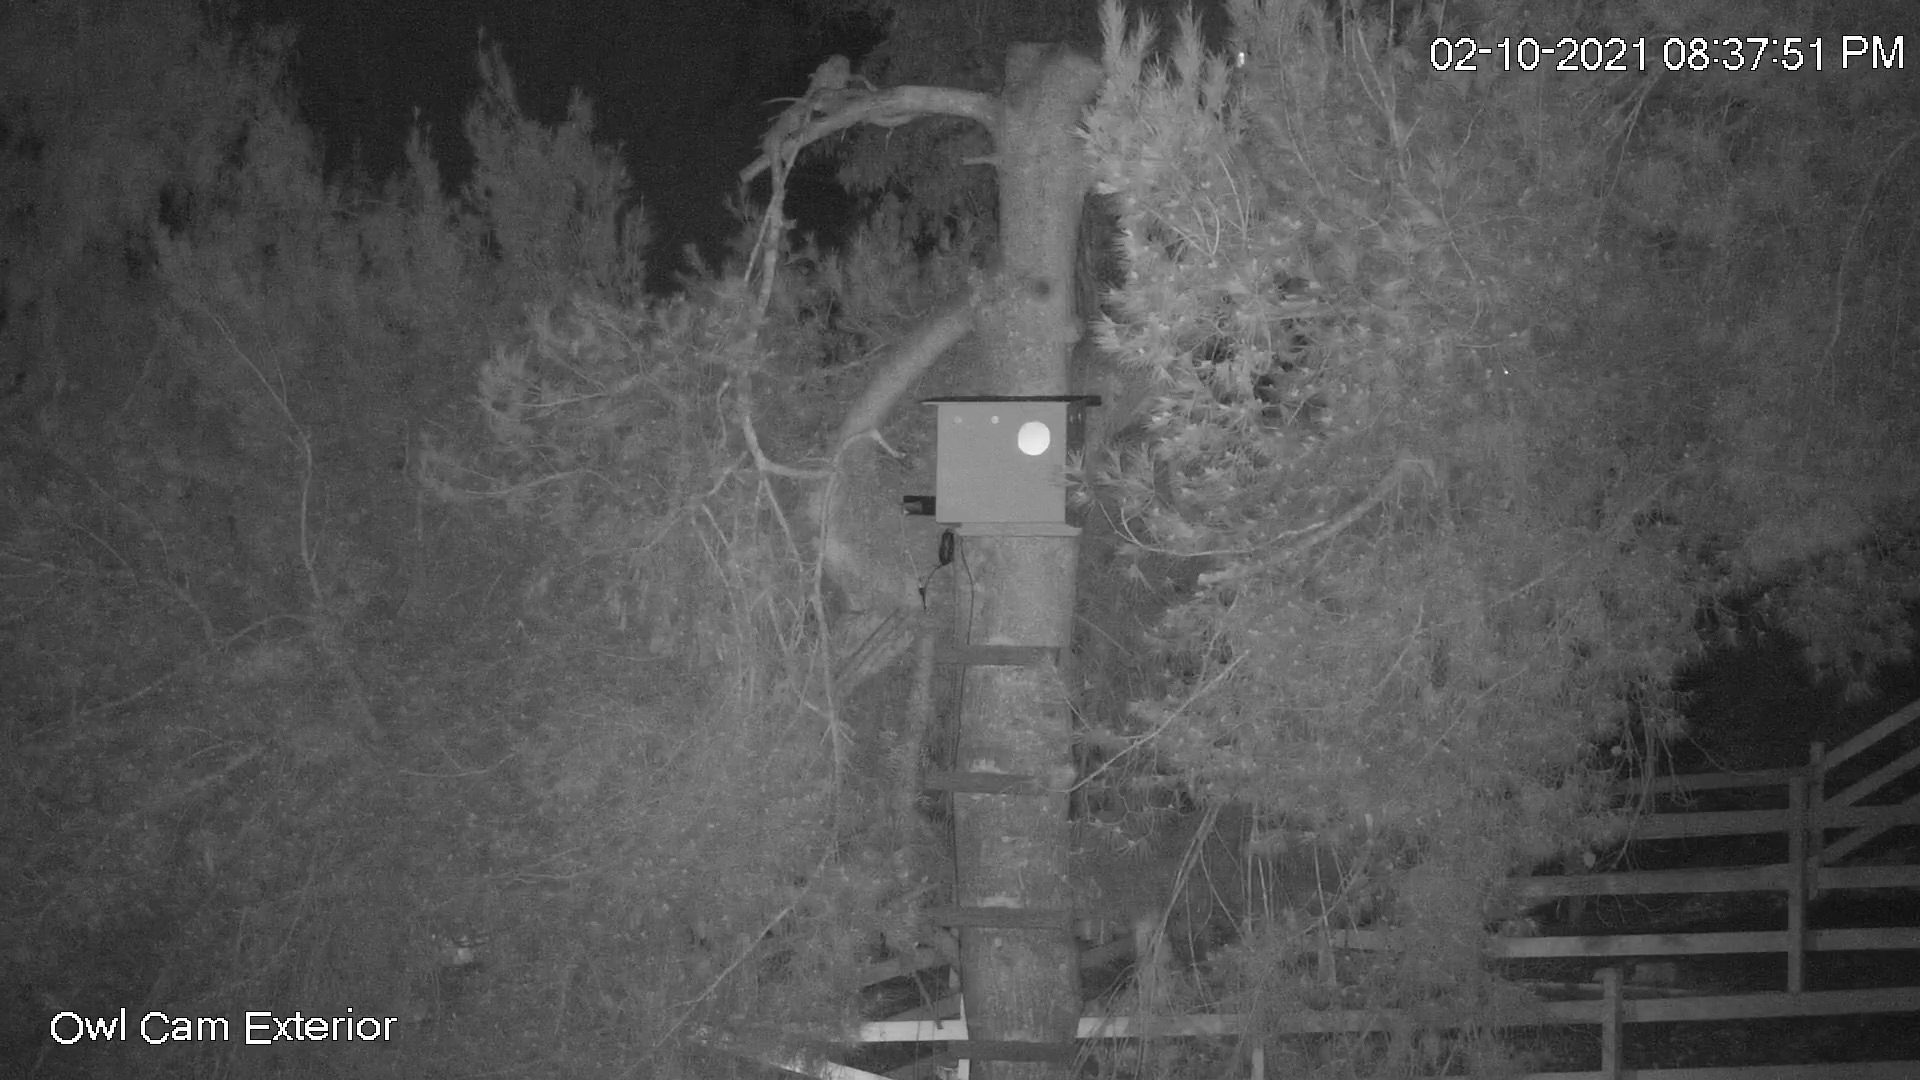
But now I have a problem at night, where the IR LEDs reflect off the inside of the sunshade and wash out my image: